
Ready to boost your video’s engagement and accessibility? Let’s show you how to add captions.
With captions, viewers can follow your content whether they’re in a public place or surrounded by noise. Even when there aren’t any distractions, 68% of people say captions help hold their focus.
Now many apps have built-in features that enable you to easily caption videos. In this article, we explore the best ways to add subtitles and customize them for your brand.
Why Add Captions to Videos?
Studies show that subtitles increase viewer engagement. Half of people say they prefer watching videos with the captions on. That’s especially true of 12 to 27-year-olds (AKA Gen Z).
Often it’s a practical issue: 57% of viewers say they watch videos in public where they might be unable to turn on the sound or hear the audio. So, if your content doesn’t have captions, they’ll have to skip it.
But the top reason why everyone’s started captioning their videos? 67% of content creators say it’s about accessibility. They want everyone to be able to watch, no matter how familiar they are with the language or whether they have disabilities.
What’s more, they say automatically generated captions aren’t enough. Many viewers need certain fonts or formatting to follow the text on the screen.
With that in mind, let’s look at the best ways to add captions and how you can tailor them for your viewers.
Add Captions with YouTube Studio
You can use a built-in feature to add multilingual captions if you have a YouTube channel. The tool is available via the YouTube Studio platform.
Step 1. Sign in to YouTube Studio
Go to the YouTube Studio website and sign in.
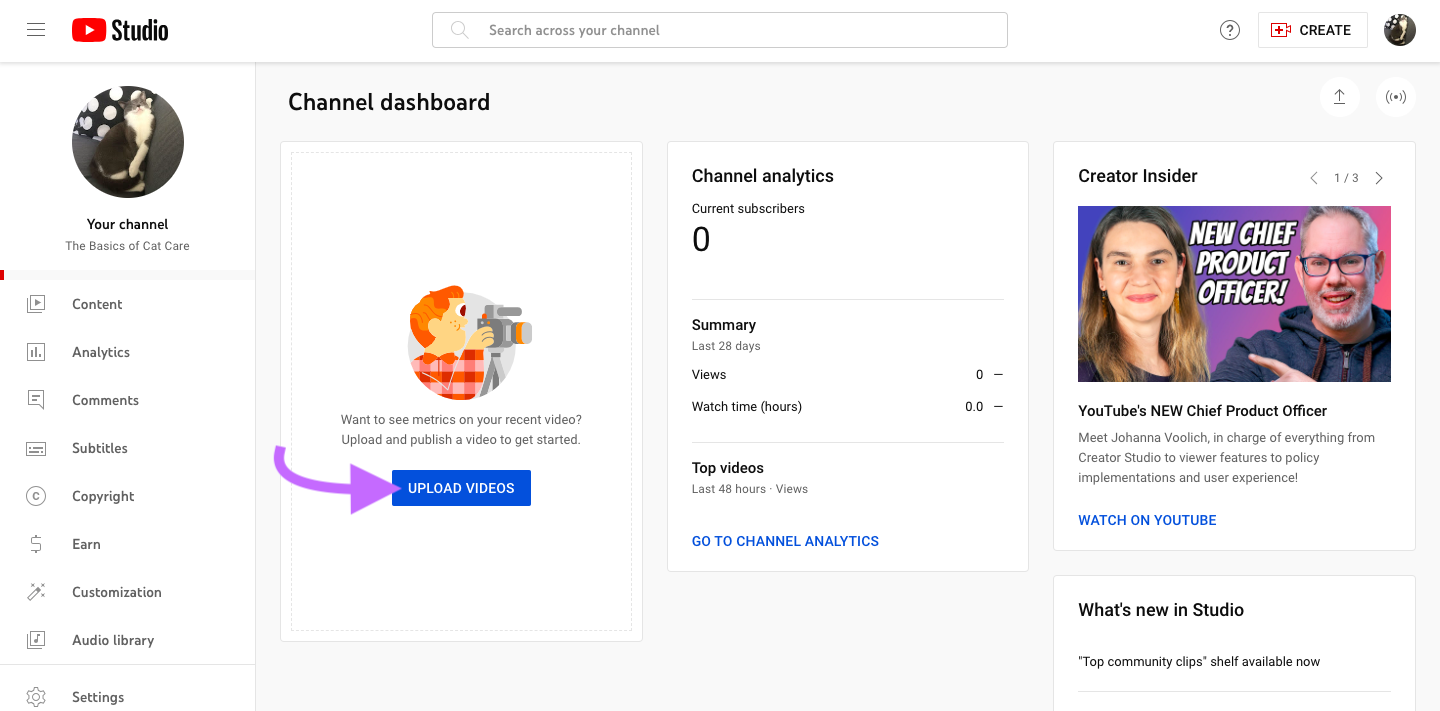
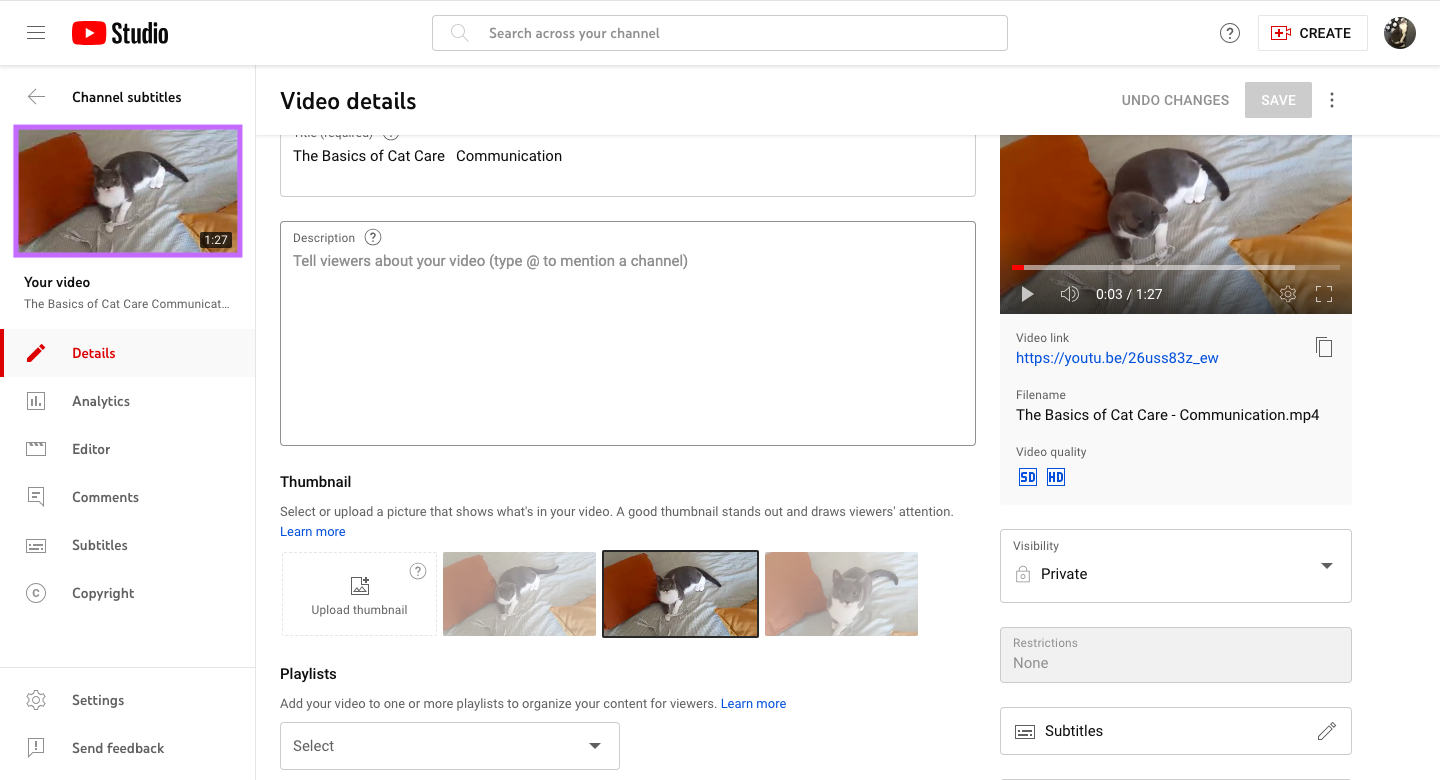
Step 2. Choose Your Video
Click the upload videos box and select the file you want to subtitle.
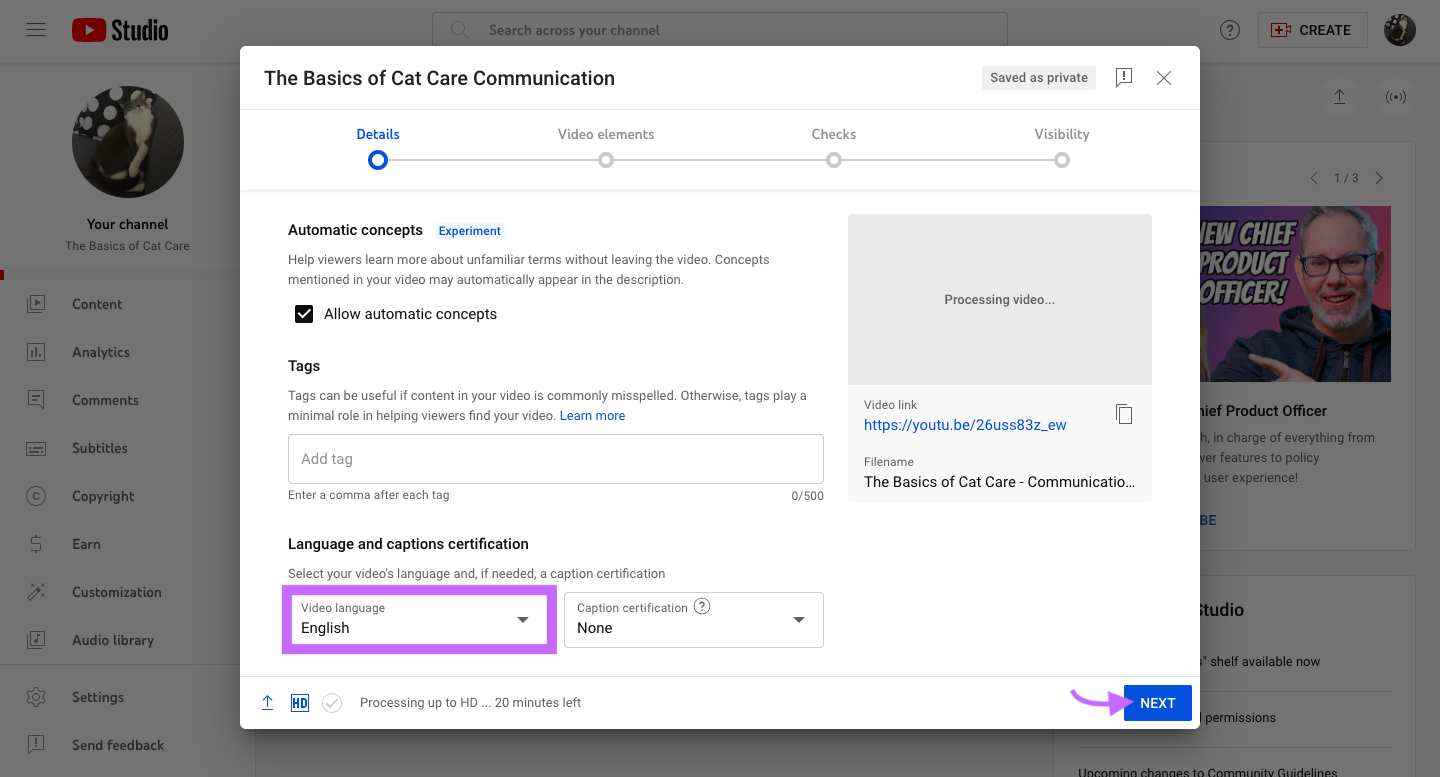
Step 3. Add Language and Subtitles
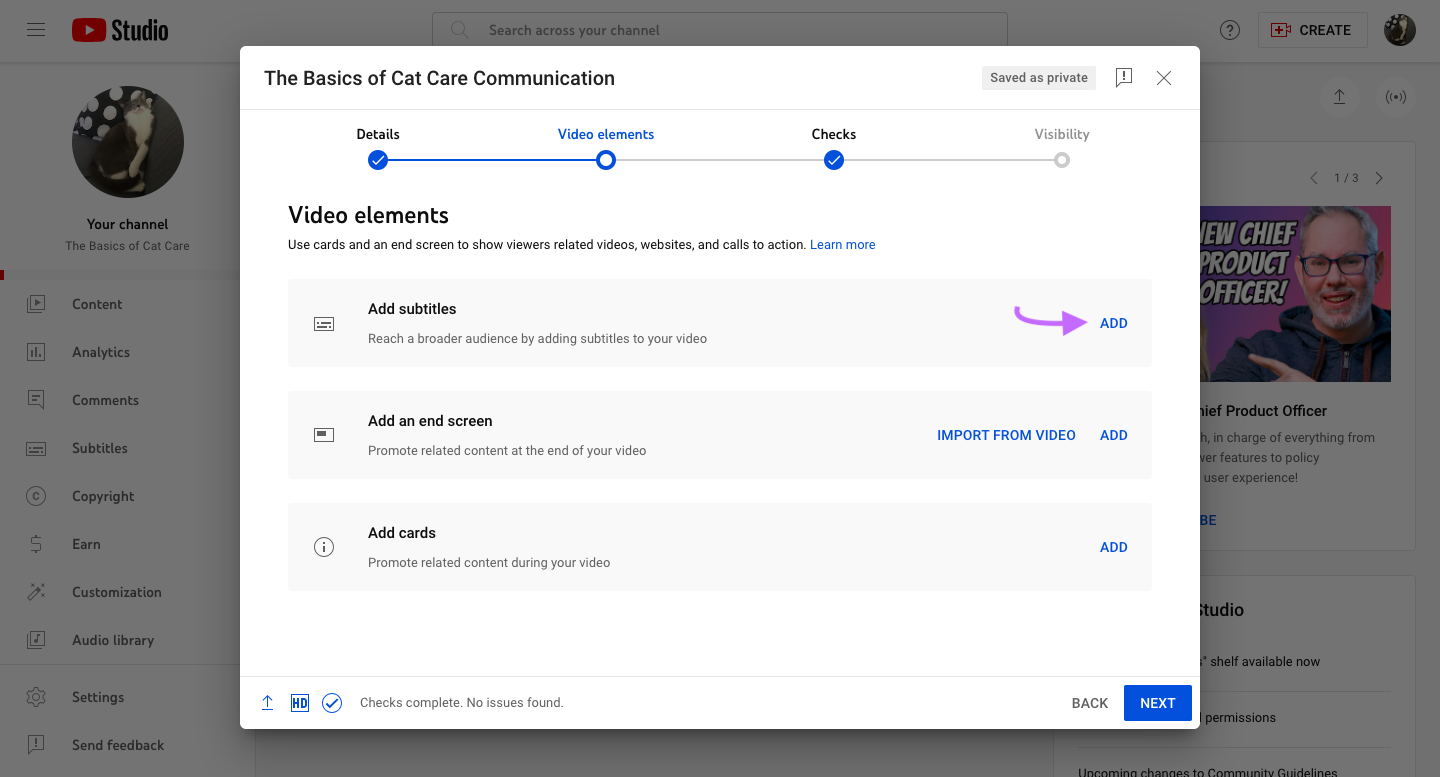
While you wait for the file to upload, scroll and choose your language. Click the next button to navigate to the video elements tab.
Then, add subtitles.
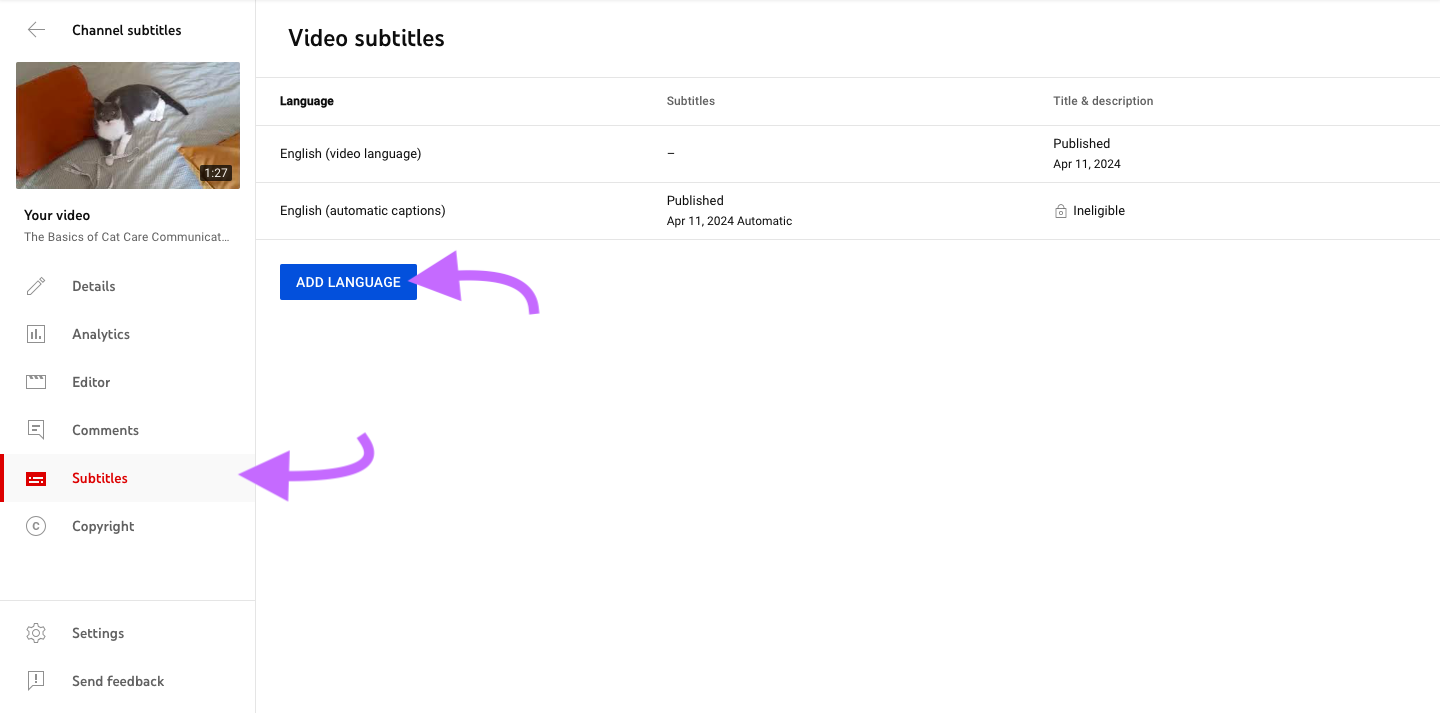
Step 4. Add More Languages
Go to the subtitles tab on the dashboard. Click the add language button and scroll down to add extra languages.
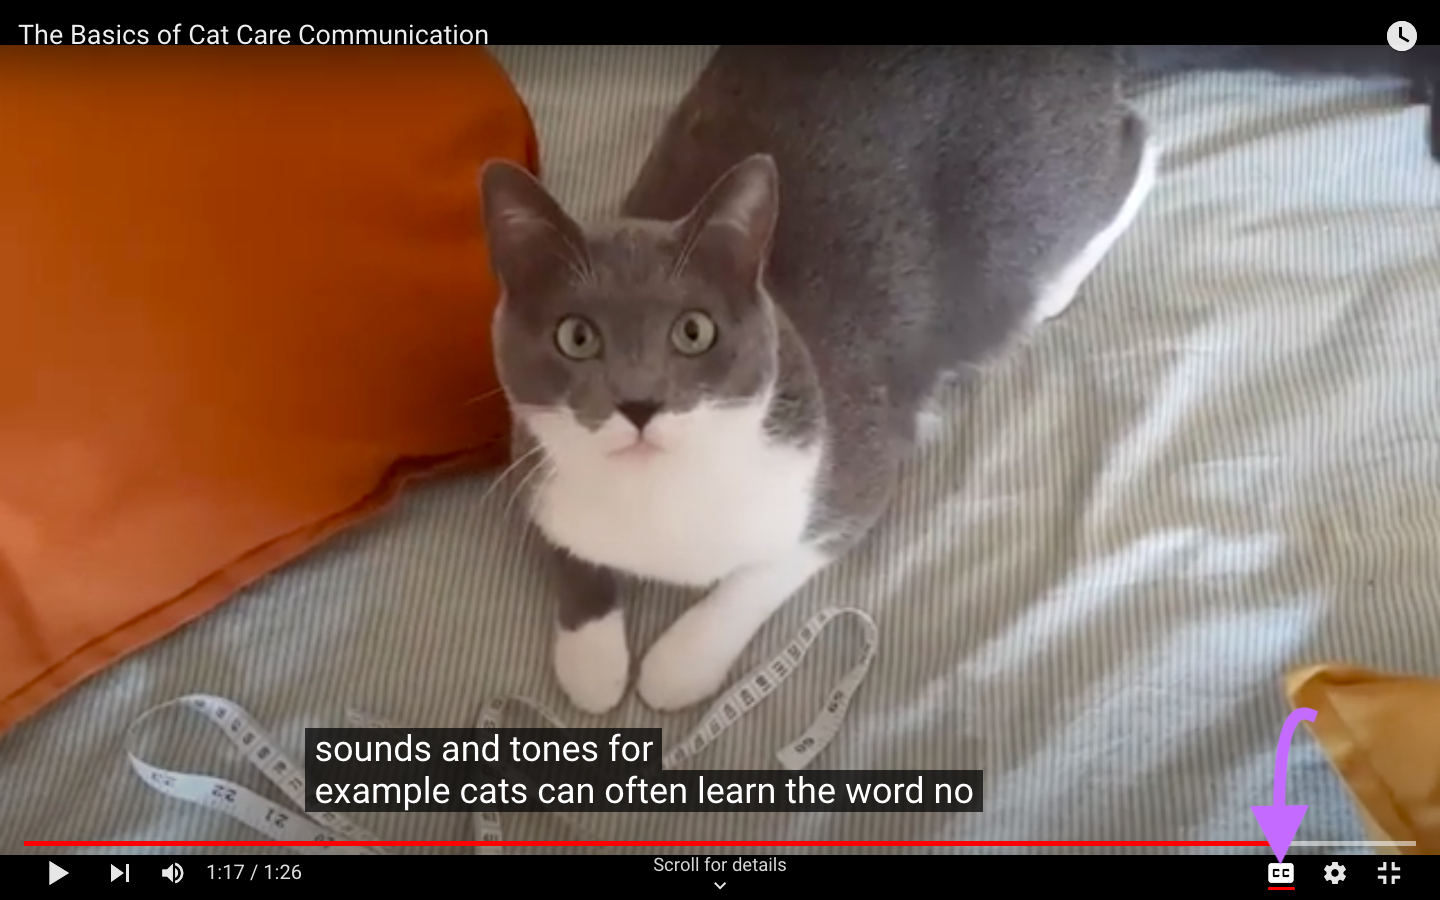
Step 5. Watch and Review the Video
To check whether the subtitles work, click the image in the top left corner.
Then, go to the CC icon on the YouTube video to choose a language and turn on the captions.
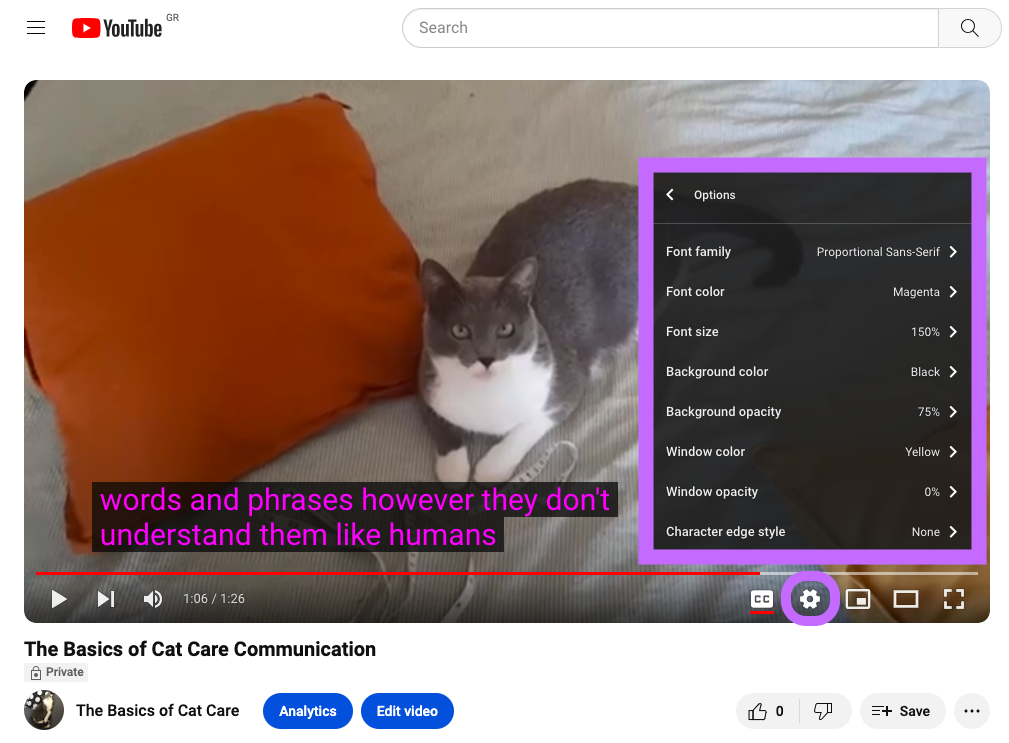
Step 6. Customize the Font
In the YouTube Studio player, click on settings and then options. You can choose how the font appears to viewers.
Add Captions with Google Drive
It’s possible to add caption files to videos in your Google Drive in just a few minutes. Here are the steps to take:
Step 1. Sign in to Google Drive
Sign into Google Drive. If you already have a Google account, the platform opens automatically.
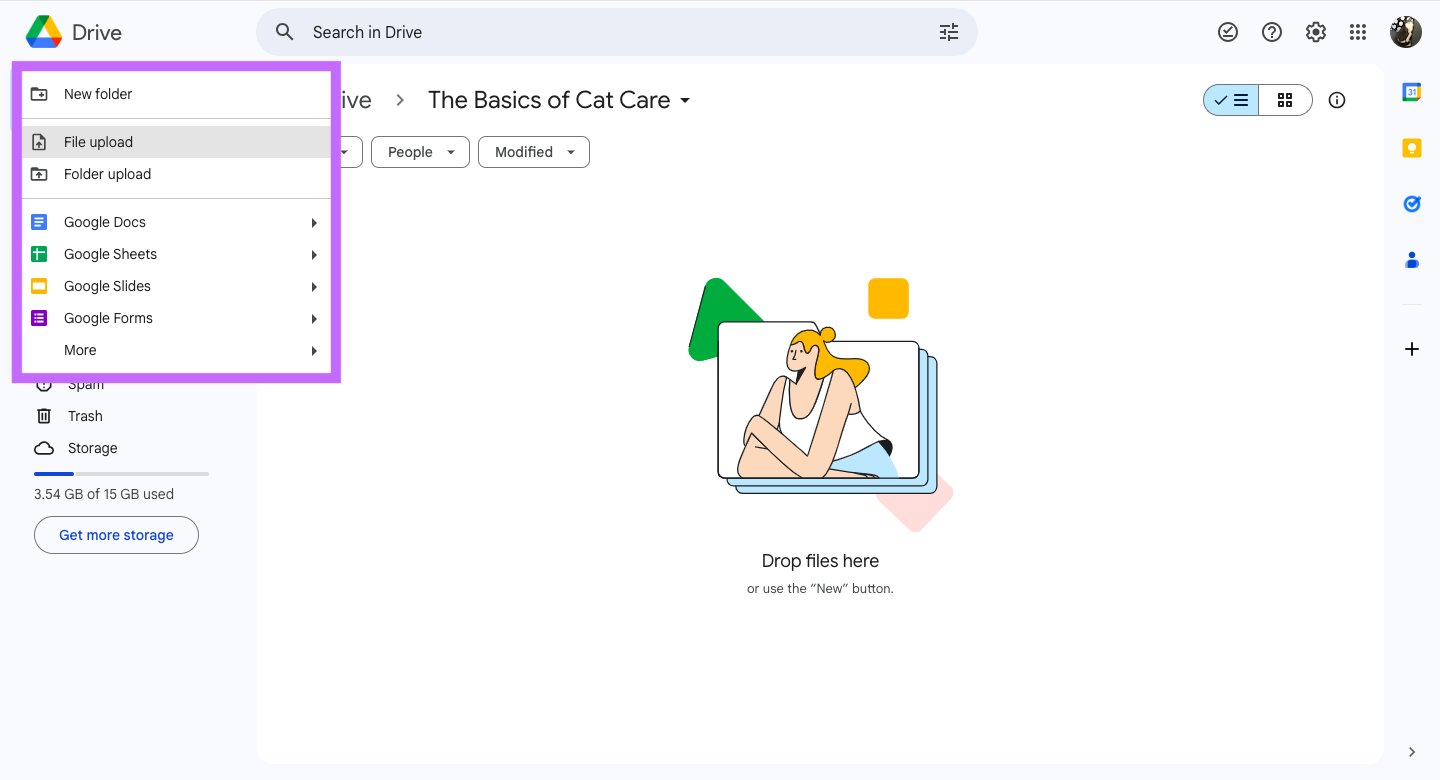
Step 2. Upload your video
Go to the new box in the top left corner. Click and scroll to add your video file to the drive.
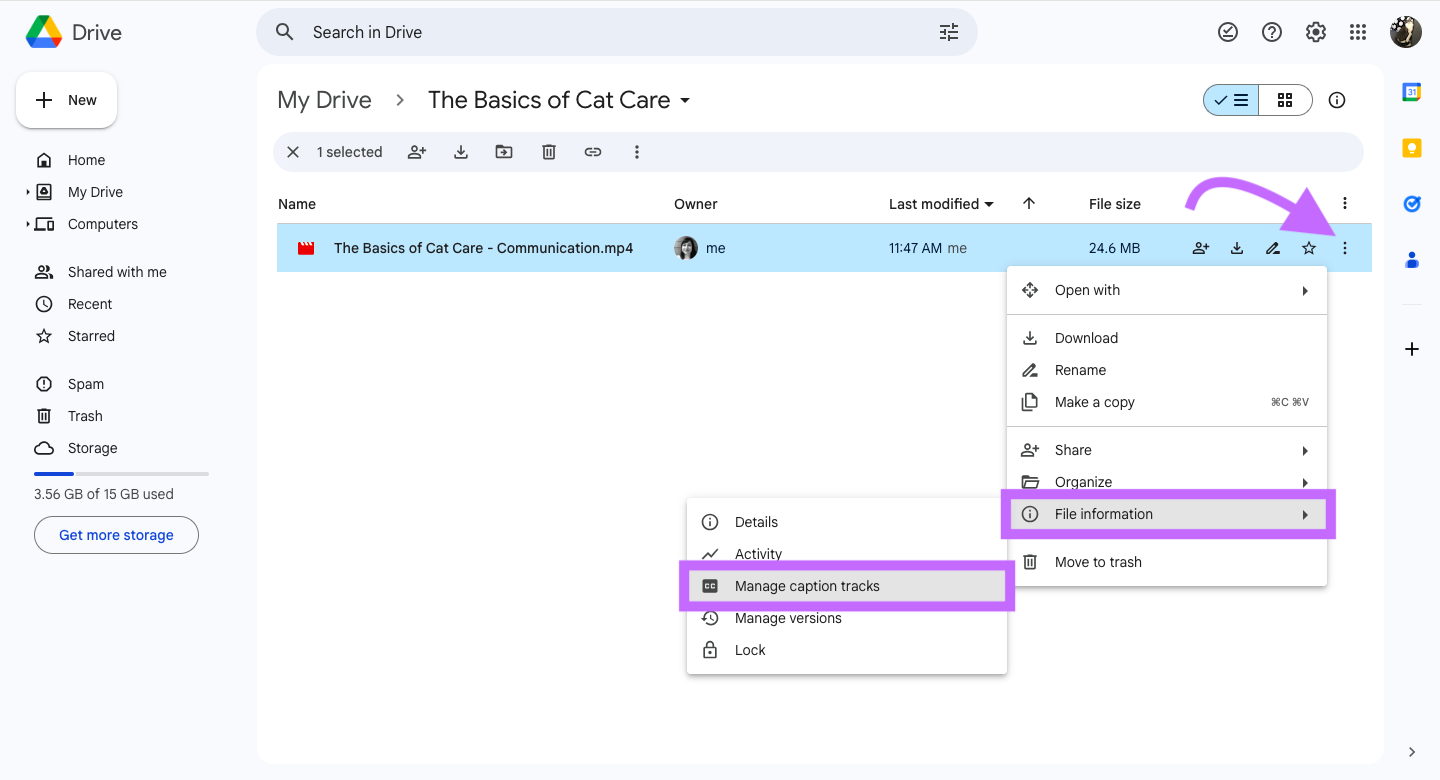
Step 3. Manage captions
Click on the three dots next to your video file. Scroll to file information and then manage captions.
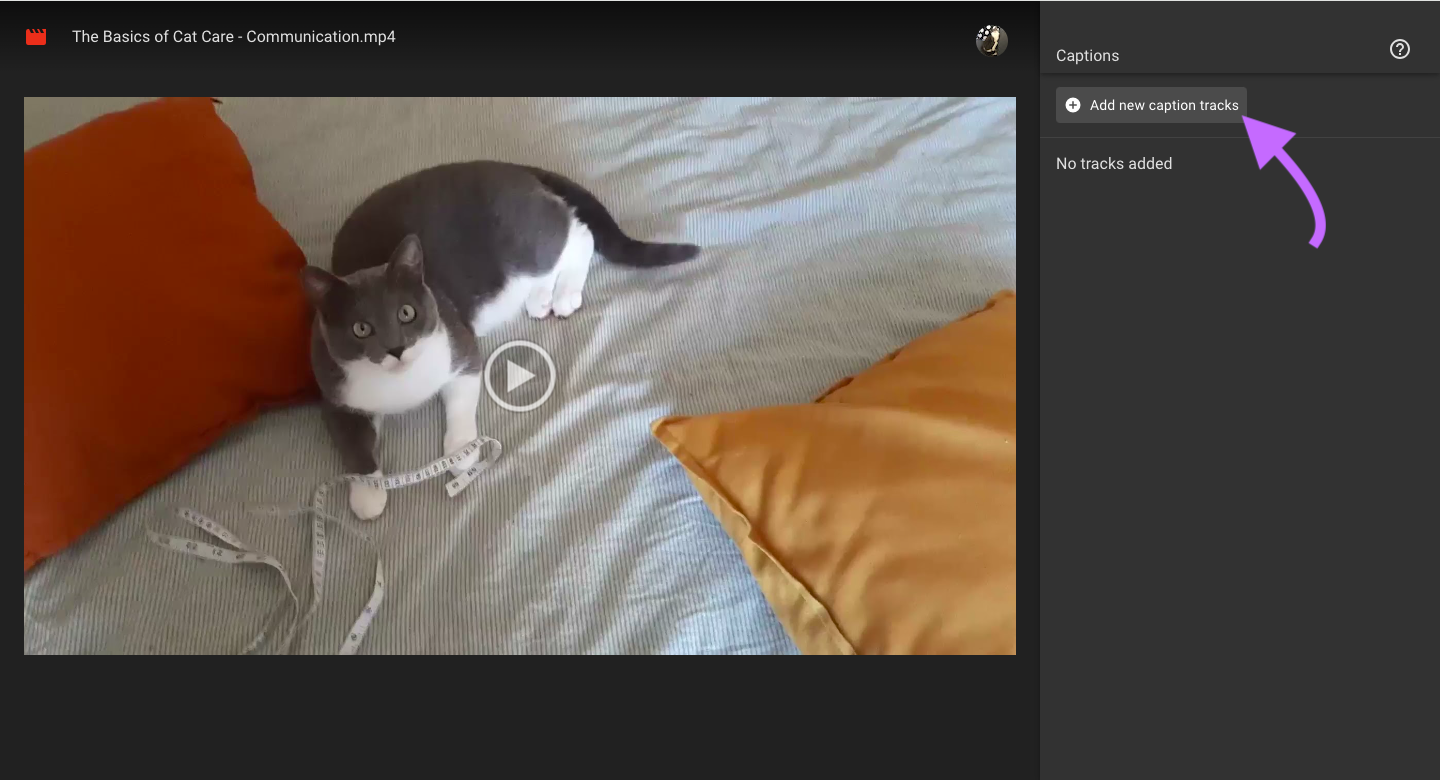
Step 4. Add a Caption Track
Go to the right sidebar menu to add your caption file. Select the file you want and upload it.
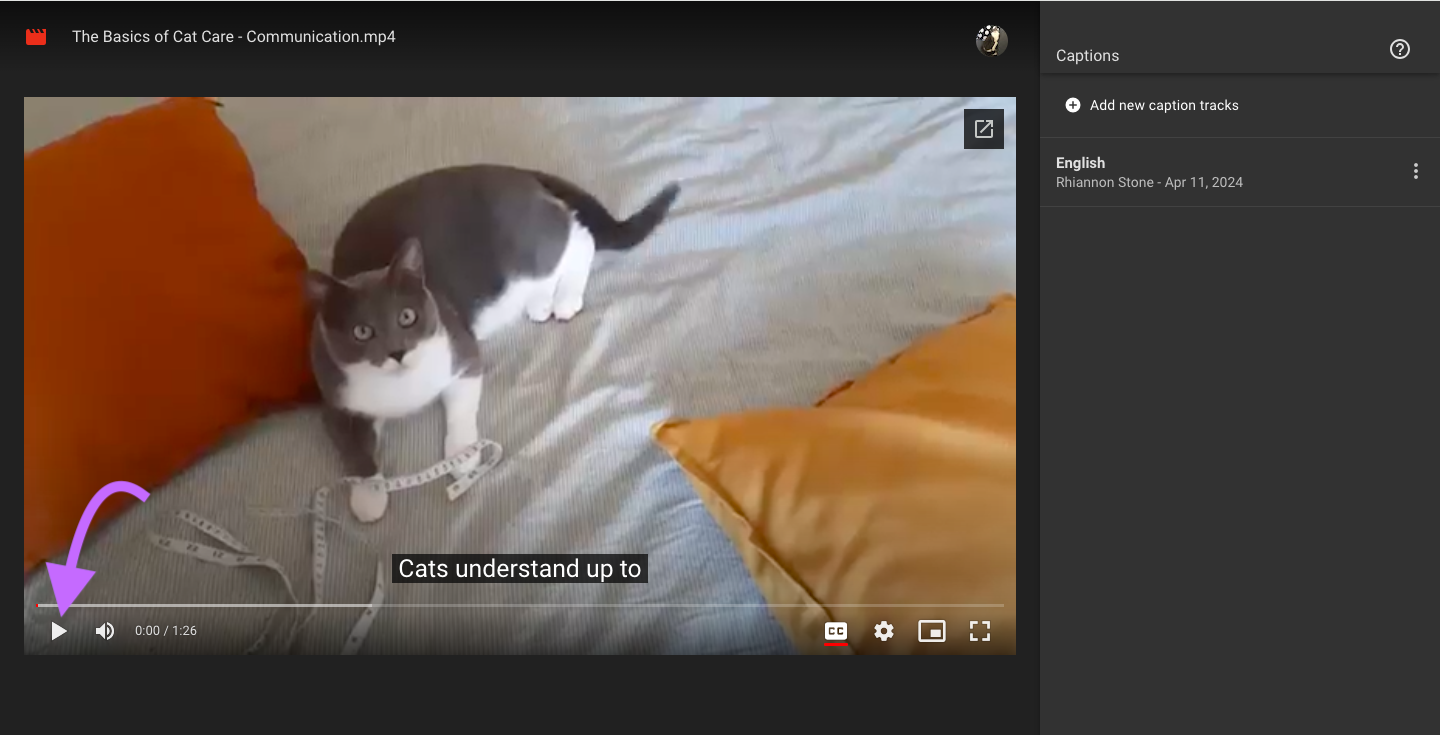
Step 5. Review the Captions
Press play on the video to check that your captions are in sync with the audio.
Note that unlike the alternatives on this list, you can’t customize the subtitle text on Google Drive. You have to transfer the video file to another platform.
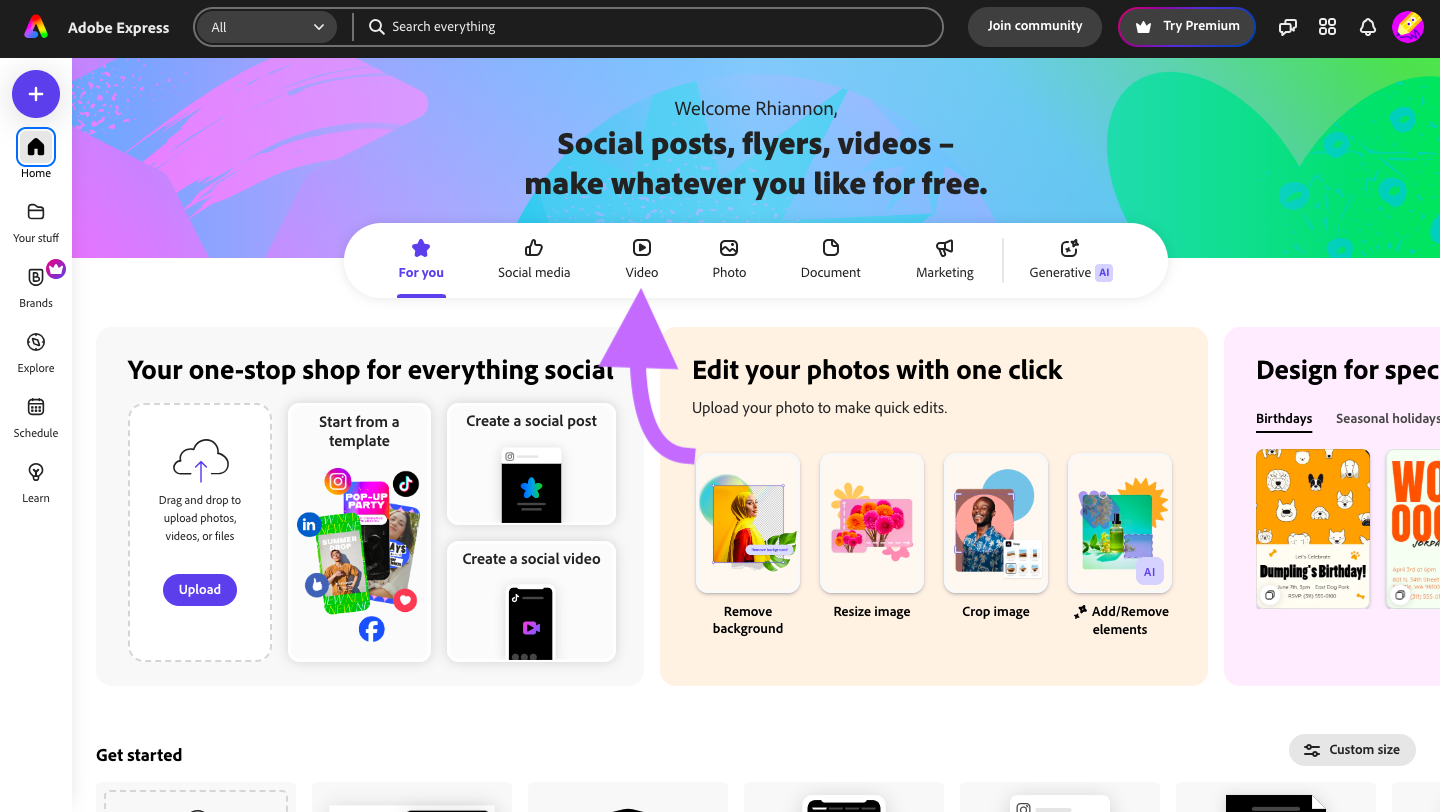
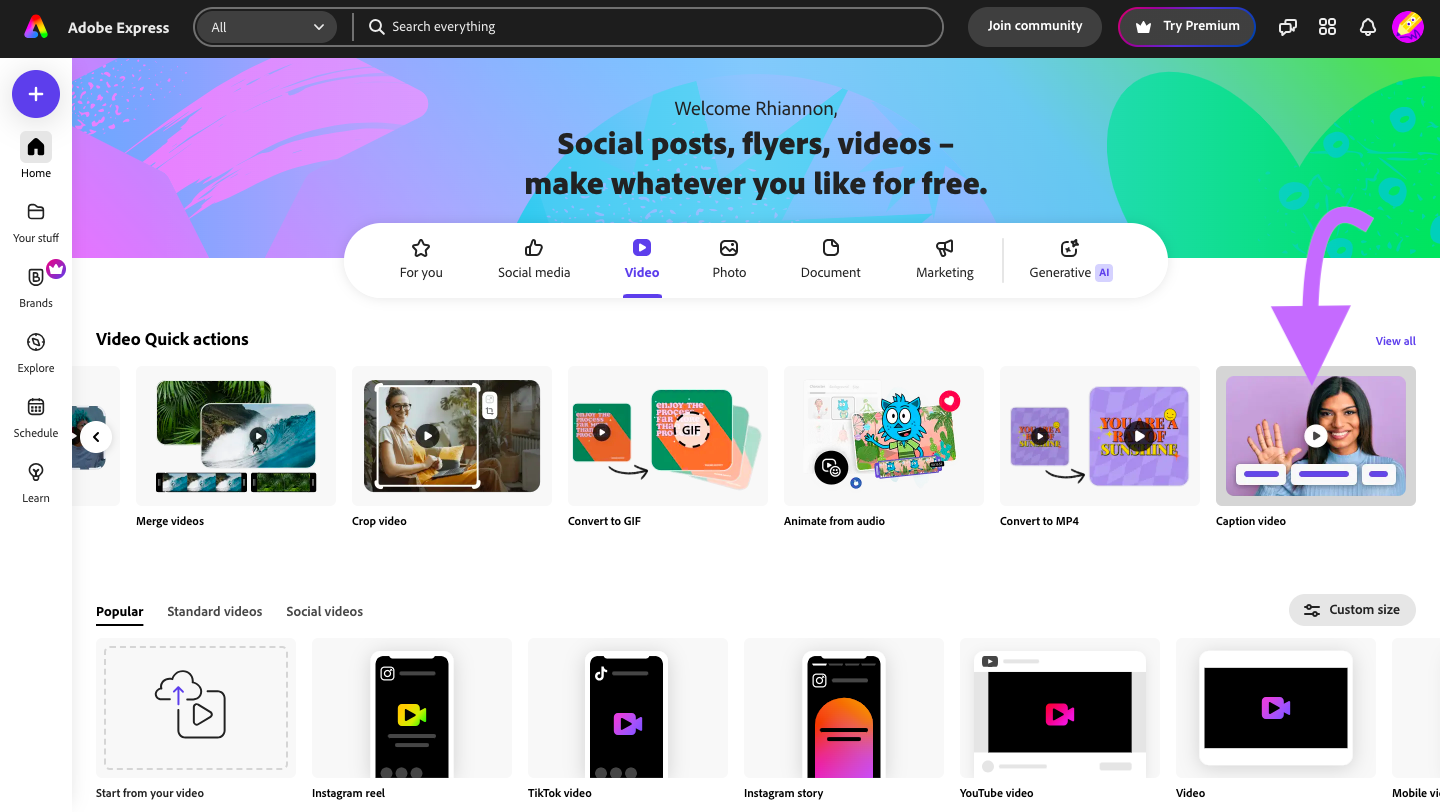
Add Captions with Adobe Express
The free Adobe Express platform gives you a choice of fonts and colors to make your video stand out. You can add subtitles in three steps.
Step 1. Sign up for Adobe
Sign up for an Adobe Express account and the web app will automatically open the dashboard with the video tool.
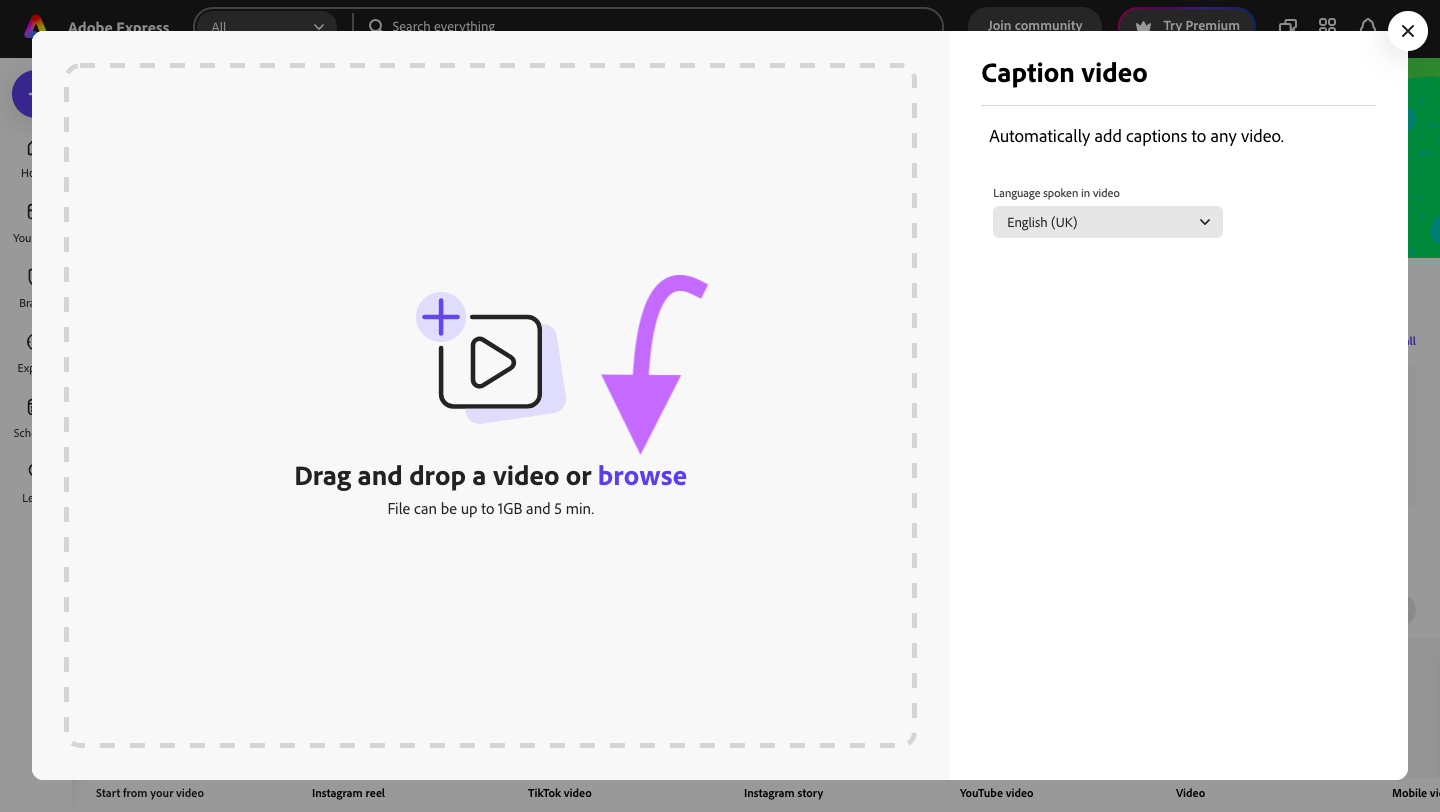
Step 2. Upload Your Video
Scroll through the icons until you see the tool to add captions. Click – and you’ll have the option to upload a video.
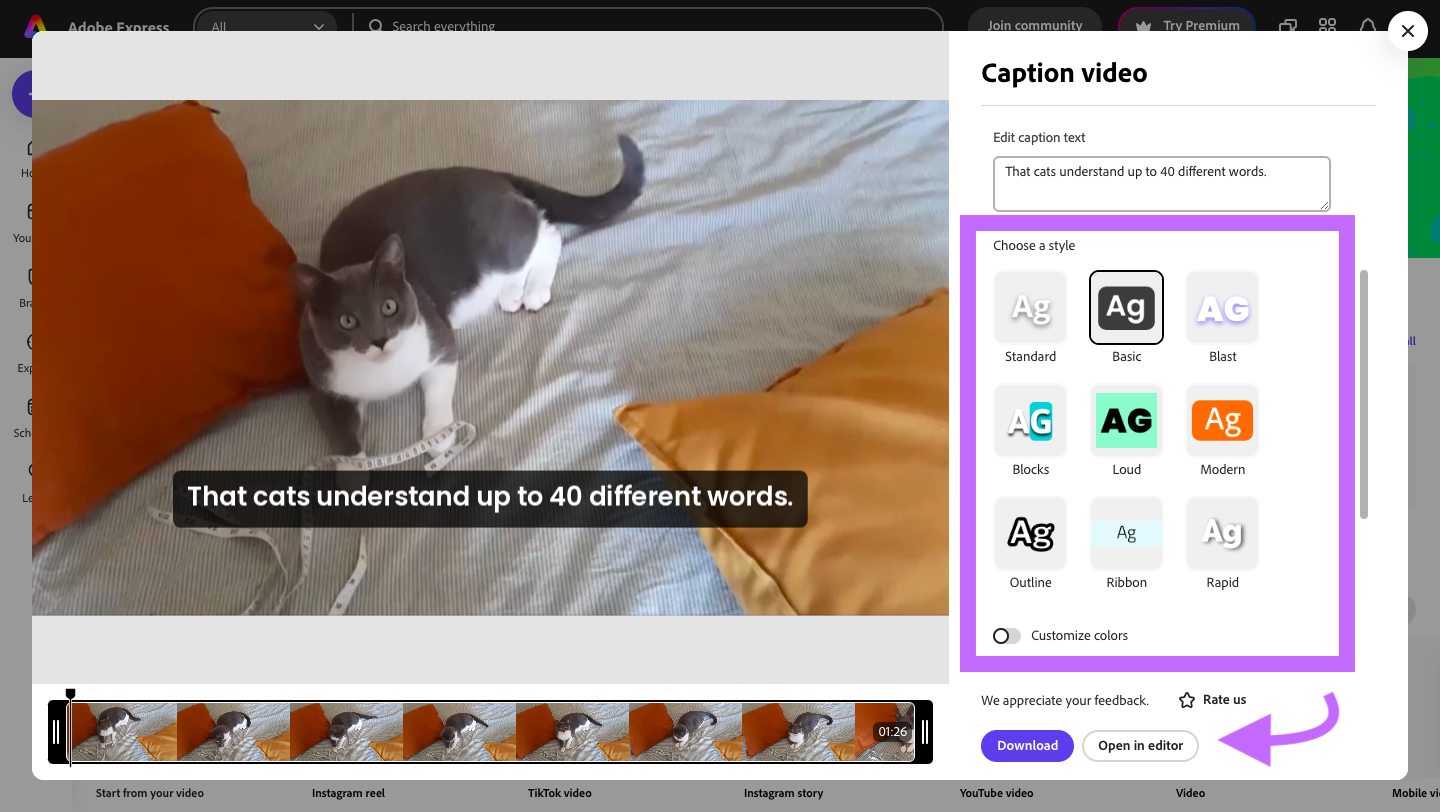
Step 3. Customize the Font and Color
Choose the format and color you want for your captions. Once you’re ready, hit download.
No Captions? No Contest
Adding subtitles doesn’t just drive viewer engagement. Depending on the type and format you use, it can enhance the experience and say something about your brand.
That’s why it’s time to go beyond automatically generated captions. By getting intentional about fonts and layout, you can elevate your video beyond the visuals and stop viewers from hitting the pause button.